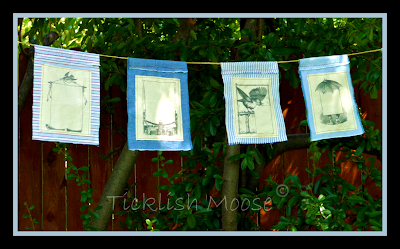
Prayer flags have been a tradition in Tibet and India for thousands of years. I decided to put a little Ticklish Moose spin on convention and make a few of my own.
Traditionally, prayer flags are used to promote peace, compassion,
strength, and wisdom. The flags do not carry prayers to gods, a common
misconception; rather, the Tibetans believe the prayers and mantras
will be blown by the wind to spread the good will and compassion into
all pervading space. Therefore, prayer flags are thought to bring
benefit to all.
Given the recent events in Aurora, CO I thought this idea I have had floating around in my head was apropos, but these can be used in so many ways- as a banner in a sick friends room, for good wishes to be written at weddings or birthdays, a project for kids to decorate at VBS.....the possibilities are endless.
I did my project with simple machine sewing, but this could be a hand sewn or no-sew project just as easily. For no-sew just use steam-a-seam type products in place of the sewn areas.
You will need:
Basic sewing supplies
2 sheets plain cardstock
Temporary adhesive spray like Easy-Tack
Laser or inkjet printer
Iron to heat set images
11 feet or longer rope, twine etc.
Fabric as detailed below
Woodcut Printables Freebie (click on links)
Prayer Flags Page 1
Prayer Flags Page 2
This could also be old sheeting, broadcloth, lightweight cotton
I upcycled mens shirts for this because the oxford cloth is pretty on both sides.
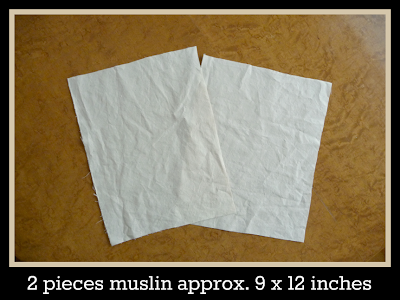
Use whatever lightweight cotton fabric you have on hand. Also- I threw my shirting pieces into the washer and dryer after cutting to get a 'softer' frayed edge look- totally not necessary. Spray the cardstock with adhesive spray and smooth your muslin onto the tacky side of the cardstock. Trim off the excess with scissors or rotary cutter.
Print the Prayer Flag images onto your muslin, remove from the cardstock and heat set (press from back side!) and use a press cloth so the ink doesn't transfer to your iron and ironing board cover. I use a teflon sheet for this purpose.....LOVE it!
Cut each image sheet into 4 equal individual images.
While your iron is hot, fold over 1 long side of the flag pieces by 1", press and pin.
I used a decorative zig-zag stitch to make the pocket for the rope/twine- here is where you can also hand sew or use a thin strip of steam-a-seam to create the pocket for the twine if you choose.
Select one of your images and center (mostly) on the face of the flag. Sew or use steam-a-seam to keep it in place.
Now the fun part- hand them out to family members or guests and have them add their prayers/wishes/hopes and dreams to the Prayer Flag with a Sharpie or other permanent marker. String them onto your rope/twine and let them fly!
And help us, this and every day, to live more nearly as we pray. ~John Keble
If you make this craft, please let me know- I would love to post a picture of your project!
Linking Here:


